Having good inputs for you projects is extremely important. Today I am going to show you three of the simplest yet most important inputs that the LVGL graphics library has to offer.
The first example will explain how to create buttons and tell when they have been clicked.
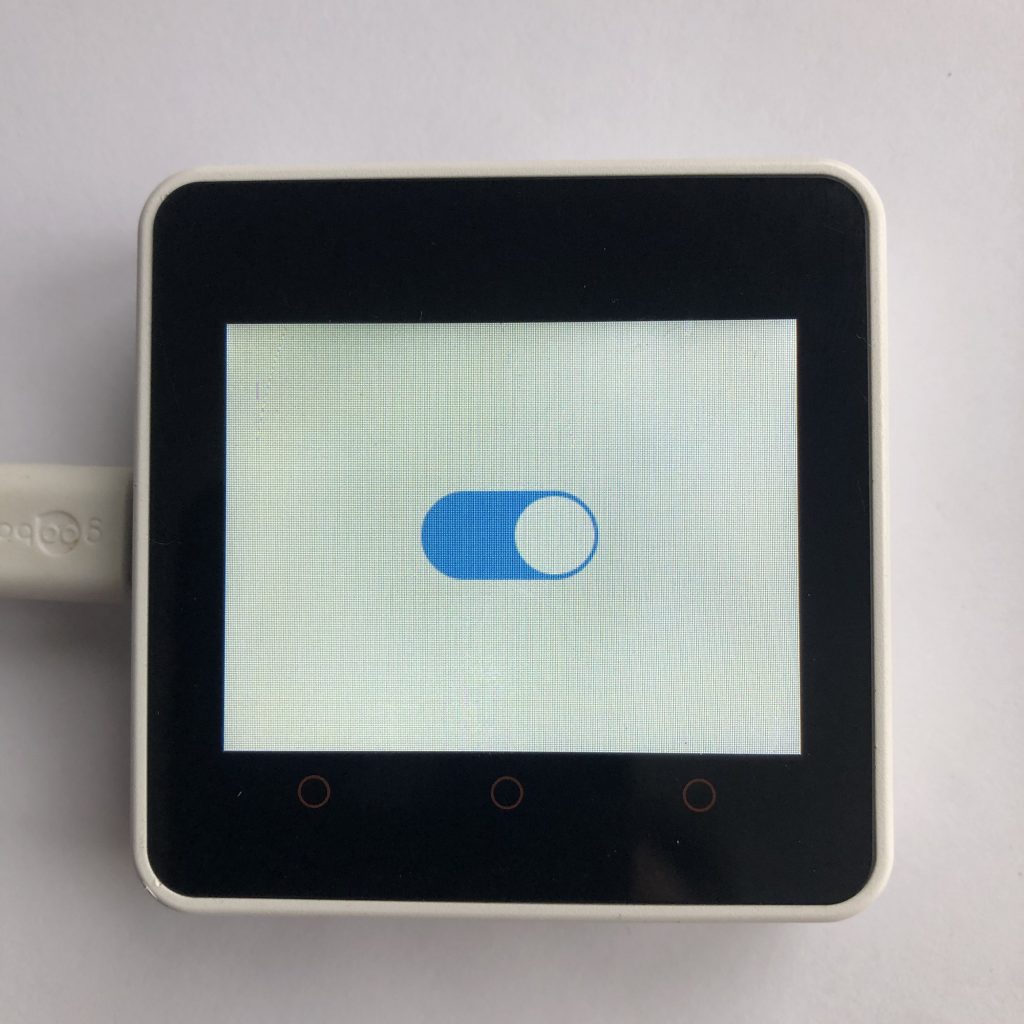
After that, I will show you how switches work, and how you know what state they are in.
Then finally, I take you through the process of creating checkboxes and figuring out if they are checked.
After each example we can walk through the code to see how they work. This will make it easier to add these inputs to your own projects.
To get these examples to work you will need to add your screen code to the beginning of this example. If you want more information try How to get a LVGL Micropython screen to work.

Micropython LVGL Buttons
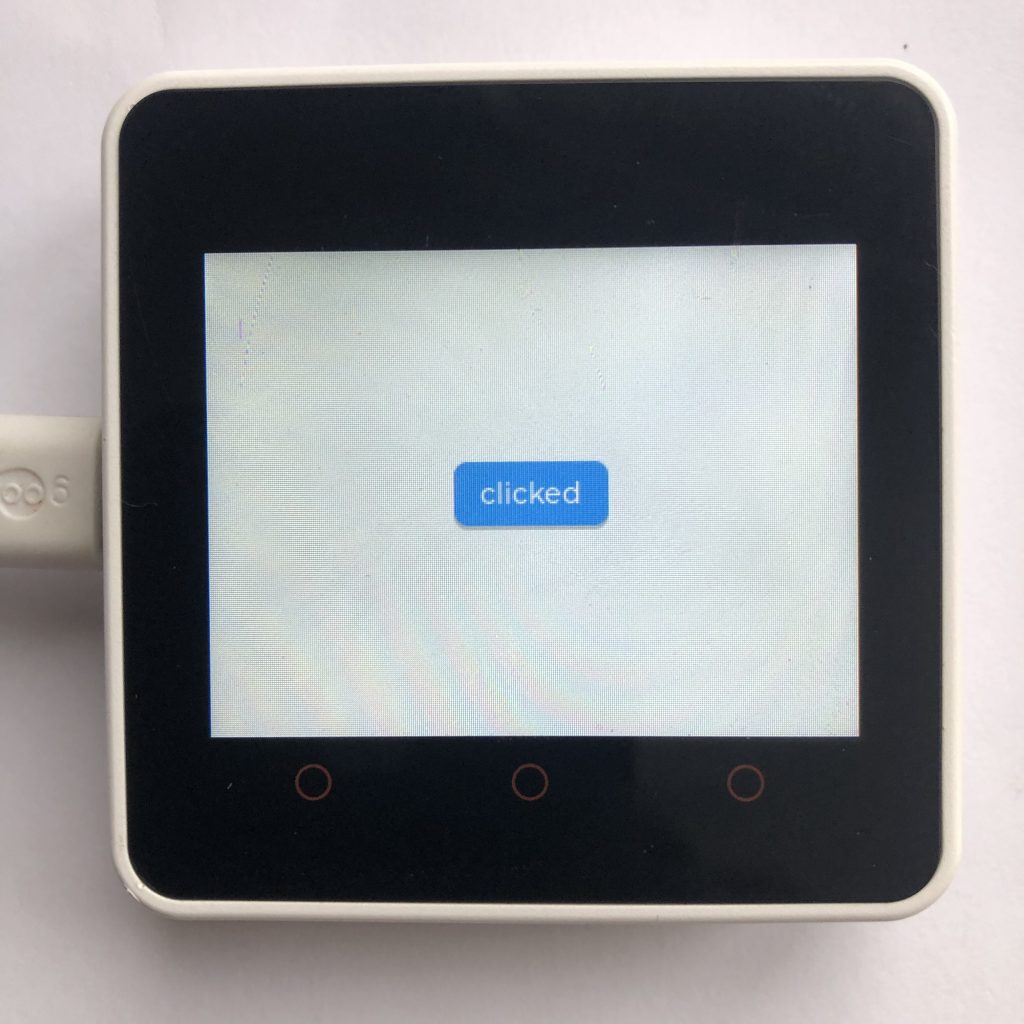
Buttons are the most important and most basic input that I can think of. The code below will create a button and give it a label. When you click the button it will change the label’s text to clicked, and if you press the button for a long time it will change the text to ‘long pressed’.
import lvgl

btn = lvgl.btn(lvgl.scr_act())
btn.center()
lb = lvgl.label(btn)
lb.set_text('default')


def handler(data):
    if data.get_code() == lvgl.EVENT.LONG_PRESSED:
        print('long pressed')
        lb.set_text('long pressed')
    elif data.get_code() == lvgl.EVENT.CLICKED:
        print('clicked')
        lb.set_text('clicked')

btn.add_event_cb(handler,lvgl.EVENT.ALL,None)
The Setup
The first thing the code does is import the LVGL library so we can use it.
import lvglThe Button
Then we have to create the button object.
btn = lvgl.btn(lvgl.scr_act())The button will look better if we put it in the center of the screen.
btn.center()The Label
Next we want to give the button some text, so we create a label inside of our button.
lb = lvgl.label(btn)After that we will give the label the text ‘default’ .
lb.set_text('default')The Handler
When the button is pressed we want it to change the text. To begin, we need to create a function.
def handler(data):Inside that function we are going to do a few things. First, we are going to check if the button was long pressed.
if data.get_code() == lvgl.EVENT.LONG_PRESSED:If it was, we are going to run the code below, which prints the text ‘long pressed’ and changes the label’s text to ‘long pressed’.
        print('long pressed')
        lb.set_text('long pressed')
If the the button wasn’t long pressed we are going to check if it was clicked.
elif data.get_code() == lvgl.EVENT.CLICKED:And if it was clicked, the code prints to the terminal ‘clicked’ and changes the label’s text to ‘clicked’.
        print('clicked')
        lb.set_text('clicked')
Connecting It All Together
Finally we have to connect the handler function we just created to the button.
btn.add_event_cb(handler,lvgl.EVENT.ALL,None)
Micropython Switches
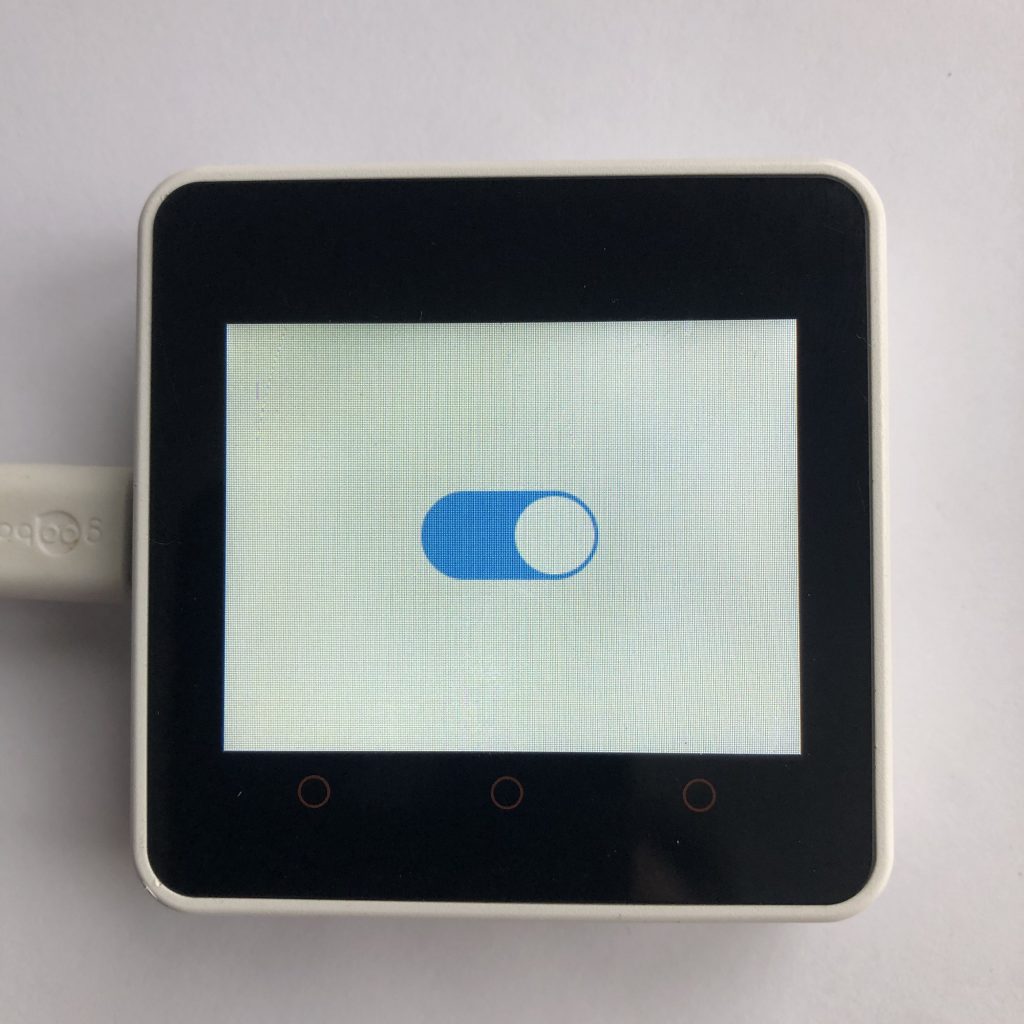
Switches are a GUI object we are all familiar with. LVGL makes it pretty easy to make a switch, though it will take a little work to get the current position of it.
Here is the basic code:
import lvgl

sw = lvgl.switch(lvgl.scr_act())
sw.set_size(100,50)
sw.center()

def handler(data):
    switch = data.get_target()
    print(switch.has_state(lvgl.STATE.CHECKED))

sw.add_event_cb(handler,lvgl.EVENT.CLICKED,None)
The Setup
Before we do anything else we need to import the LVGL library.
import lvglCreating the Switch
To create a switch we first have to create an empty switch object.
sw = lvgl.switch(lvgl.scr_act())To make this switch a little more interesting and more visible for my camera, let’s make it bigger.
sw.set_size(100,50)Lastly, we center it so it looks more pleasing.
sw.center()The Handler
To be able to tell if the slider is on or off we need to start by creating a handler function. Because I am not very creative, we will name that function, “handler”.
def handler(data):After that, we are going to run some code to find the switch that called the handler.
switch = data.get_target()Now that we know which switch called this function, we figure out if it is checked or not, and print that value to the terminal.
print(switch.has_state(lvgl.STATE.CHECKED))Wrapping Up
The last thing we need to do for this example is to connect the handler we just made to the switch we created earlier.
sw.add_event_cb(handler,lvgl.EVENT.CLICKED,None) 
LVGL Checkboxes
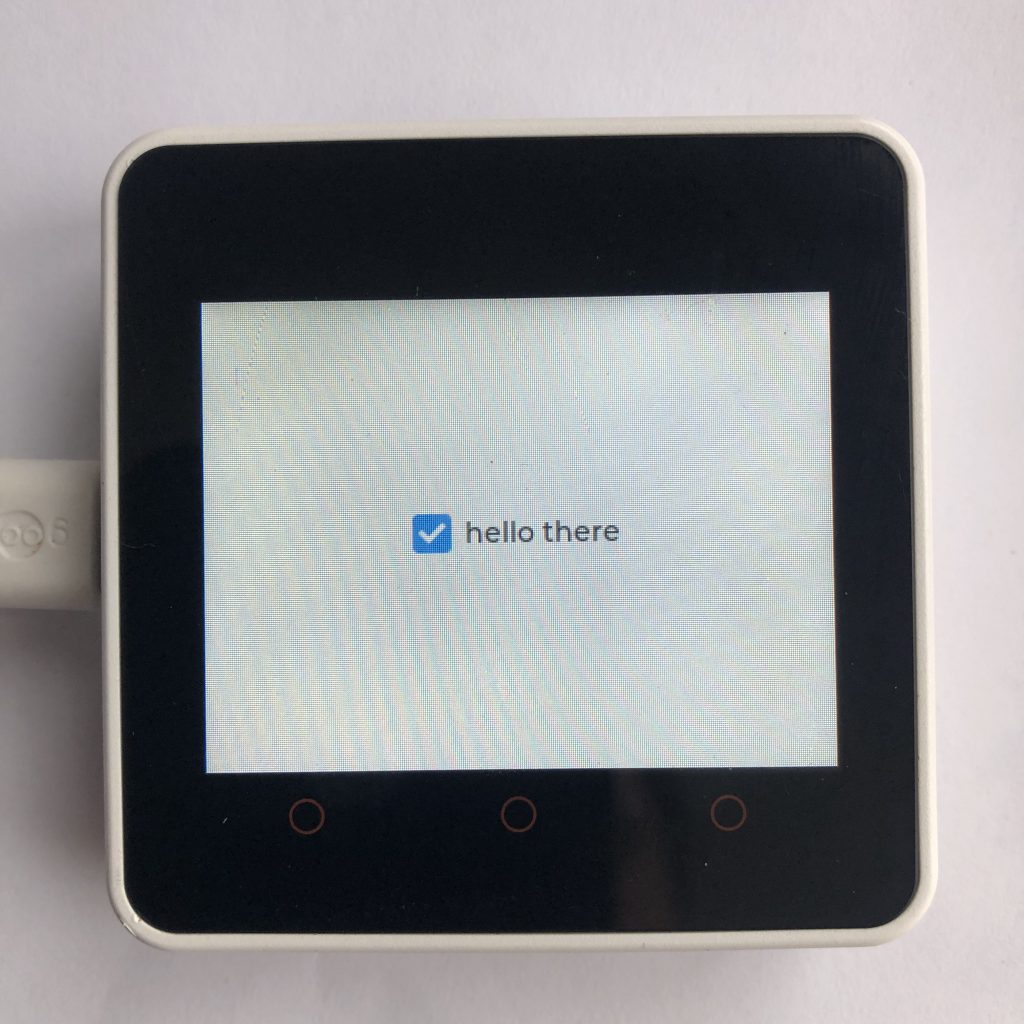
Checkboxes are similar to switches. The main difference between them is how they look, but most of the code behind them is the same.
Here is the checkbox code:
import lvgl

ch = lvgl.checkbox(lvgl.scr_act())
ch.set_text('hello there')
ch.center()

def handler(data):
    check = data.get_target()
    print(check.has_state(lvgl.STATE.CHECKED))

ch.add_event_cb(handler,lvgl.EVENT.CLICKED,None)
The Setup
As usual, we start by importing LVGL.
import lvglCreating the checkbox
First, we are going to create the checkbox object.
ch = lvgl.checkbox(lvgl.scr_act())Checkboxes allow you to add some text next to them. If you click the text it will also check the box.
ch.set_text('hello there')Lastly we center the box.
ch.center()The Handler
This handler is pretty much identical to the one used for switches. It just prints if the checkbox is checked or not.
def handler(data):
    check = data.get_target()
    print(check.has_state(lvgl.STATE.CHECKED))
Connecting Everything Together
The last step is to connect the handler to the checkbox.
ch.add_event_cb(handler,lvgl.EVENT.CLICKED,None)What Next?
Buttons are the simplest type of input, which is why they are so powerful. They can be modified in tons of creative ways to meat whatever you need. The example I gave you was intended to show some of the special features that buttons have available, but you could use the handler functions we created for the switch or checkbox, to simplify the code.
Switches are great if you want an input that stays on after you have pressed it. They are perfect if you are trying to make a settings menu, or if you just want your GUI to look more polished.
Checkboxes aren’t needed in everyday projects, but they can make a large GUI interesting. They are practically identical to switches, so you can easily add them in wherever you put switches.
If you want some more complicated inputs to play with, then you might like Micropython LVGL Keyboard Examples.