Lets say you have just created a web page for your ESP32 and it does not really look right to you, but your not sure how to make it look better.
This may or may not happen to you, but it definitely has happened to me, so today I will explain some of the tricks I use to make my pages look and work better.
An Example
Instead of just talking about how you can improve you web page. lets work through an example.
Here is some simple HTML that I made for the last tutorial.
<!DOCTYPE HTML>
<html>
<body>
<form>
<label for = "input">Message</label>
<input type = "text" id = "input" name = "message">
<input type = "submit" value = "Send">
</form>
</body>
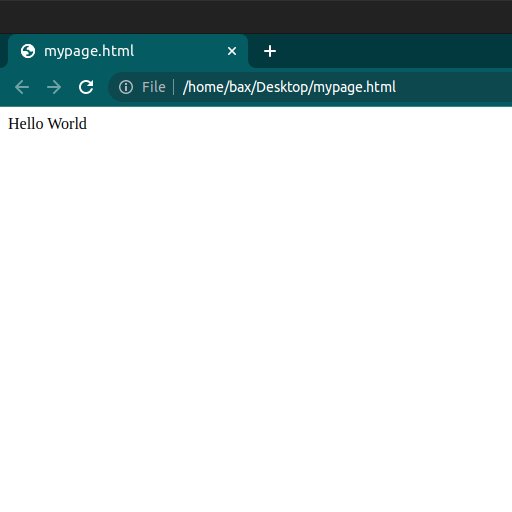
</html>And here is what running that HTML looks like.
And I will admit it, we are starting from the absolute bottom of the barrel, but lets see where we can take this page.
POST vs GET
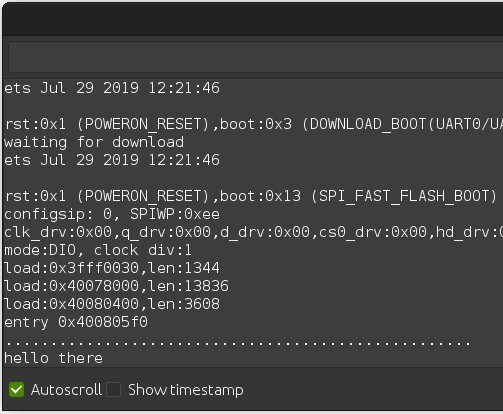
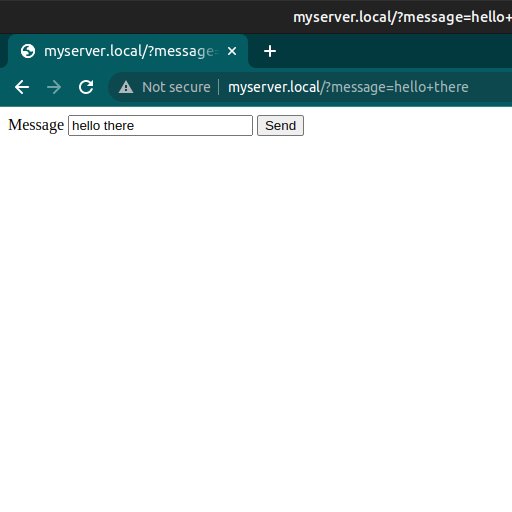
The purpose of the above code is that you can write some text and then send it to the server. If you actually ran it, you would notice to behaviors that are not always desirable.
First, you can always see the last message sent in the URL. If you look at the picture above you can see that I sent the message “hello there” because you can see those words in the URL.
Well actually, URLs format the data slightly so “hello there” becomes “hello+there“, but you get the idea.
The second problem is that every time I send something to the server, the page reloads. This is inefficient and can sometimes be problematic.
All of these problems occur, because our page is using the HTTP GET method. If we were to use the HTTP POST method instead, we could remove all these problems, so lets update the example page to use POST.
<!DOCTYPE HTML>
<html>
 <body>
  <form method = "POST">
   <label for = "input">Message</label>
   <input type = "text" id = "input"  name = "message">
   <input type = "submit" value = "Send">
  </form>
 </body>
</html>
The only thing that has changed is line 4, were we specifically tell the form to use the POST method.
You will also need to update the ESP32 code, so it can handle POST requests correctly. Here is a standard function, that you might normally use.
void page(){
 Serial.println("Client connected");
  if(server.hasArg("message")){
   Serial.println(server.arg("message"));
  }
 server.send(200,"text/html",WebPageCode);
}
And here is how you upgrade it to handle POST requests.
void page() {
  if (server.method() == HTTP_POST) {
    Serial.println("Client connected with post");
    if (server.hasArg("message")) {
      Serial.println(server.arg("message"));
    }
    server.send(204, "text/html", "");
  } else {
    Serial.println("Client connected");
    server.send(200, "text/html", PAGE);
  }
}
The above code should be pretty self explanatory, except line 7 which sends a 204 with blank text “”.
Servers have to send back data when a page makes a request or the page will crash. Unfortunatly if you send a message to a page it will reload the page with the new message.
Sending a 204 is a way to send a message that keeps the page from crashing, but at the same time does not reload the page.
MDNS
Typing in a long IP address every time you want to access you board is a pain, but there is a way round this.
With the magic of MDNS, you can use some text like CoolName.local instead of your IP address, and even cooler, it only takes two lines of code to turn MDNS on.
In your project you start by including the MDNS library. It should already be installed by default.
#include <ESPmDNS.h>Then in the setup function, you run this.
MDNS.begin("myserver");And of course you can replace myserver with any name you want with in reason (no spaces, no slashes, jada jada ja).
Then you can use WhatEverYouNamedYouBoard + .local instead of you board’s IP address.
I would highly suggest using MDNS in your projects, because it is so simple to use, and dramatically increases the quality of your page.
Styling Your Page
Up to this point we have talked about some of the small things you can do to make your web page look and work better, but so far we have neglected one of the most important things you can do: styling.
Just a quick note, styling is done with CSS. This post is not intended to teach you CSS, the point of this section is to give you a small list of things you need to be able to do in CSS, and point out some of the best sites to learn them from.
CSS controls a lot of your page’s settings, when you are getting started the two most important things you will want to learn are controlling how objects look, and where there get placed on the screen.
for controlling how objects look, I would look into CSS:
- background-color
- border
- font-family
and for positioning your object you will want to learn:
- margin
- padding
- flex
You might have heard of margin and padding before, but you probably have never heard about flex.
Flex
Flex is one of CSS’s layouts. There are other options you can choose from, but if you are just learning CSS, flex is a good one, because it’s very powerful and not terribly complicated. By far, the best site I have see that explains the flex layout is CSS Tricks.
For the rest of the CSS, I suggested you learn from W3S which is a good place to start and MDN Web Docs which is good if you want a lot of detail.
Grouping
When ever you have a bunch of items that work together on your screen, it’s best if you visually group them together. Here is how you can do that with a div.
<!DOCTYPE HTML>
<html>
 <body>
  <div id = "group">
   <form method = "POST">
    <label for = "input">Message</label>
    <input type = "text" id = "input"  name = "message">
    <input type = "submit" value = "Send">
   </form>
  </div>
 </body>
</html>
As you can see, we start by putting every thing we want to group together inside of a <div>. We also give the <div> an id, so we can style it later.
<!DOCTYPE HTML>
<html>
 <body>
  <div id = "group">
   <form method = "POST">
    <label for = "input">Message</label>
    <input type = "text" id = "input"  name = "message">
    <input type = "submit" value = "Send">
   </form>
  </div>
  <style>
      #group{
        background-color: #e2e2e2;
        border: 1px solid black;
        padding:10px;
        display: inline-block;
      }
  </style>
 </body>
</html>
Then we add an extra style. Here is how that works.
The first thing we do is create a rule targeting the <div> with id group.
#group{
  /* styles go here*/
}
Next we set the background color to gray and create a black border around our <div>.
#group{
  background-color: #e2e2e2;
  border: 1px solid black;
}
If you ran the code at this point, it would look like this.
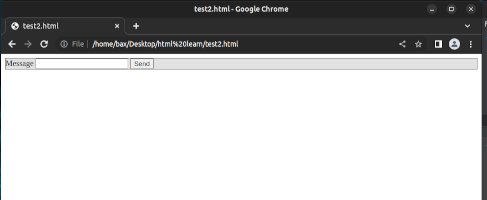
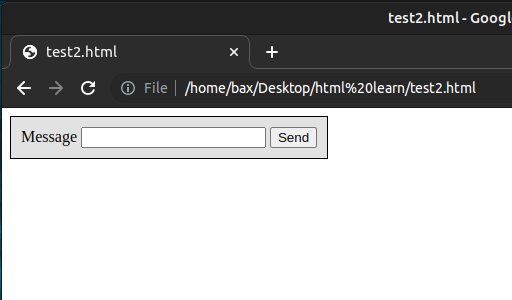
To fix the fact that the border runs into the button and the text box, we will add some padding and to stop the <div> from going way past the button we will make the <div> an inline-block.
#group{
  background-color: #e2e2e2;
  border: 1px solid black;
  padding:10px;
  display: inline-block;
}
here is what the result looks like.
Don’t Reinvent the Wheel
This is probably the most important advice on this page. Before you start creating your web page, go look at other people’s web pages that do something similar to what you want, and study there pages to see how you could design your own.
This should go without saying, but First only imitate people you want to be like. If you want you web page to look good, make sure to look at high quality web pages, and second make the page your own. There is a big difference between getting some ideas of how to create your page, and just cloning the page.
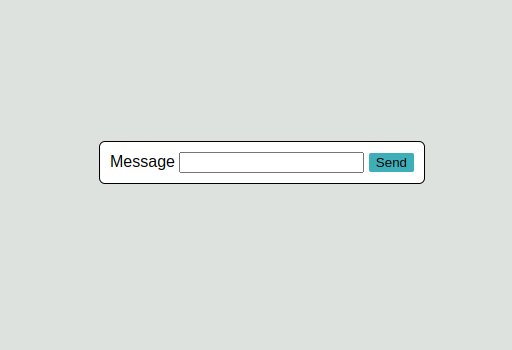
Here is the complete rehaul of the code we started with.
I updated it from GET to POST, grouped everything together, and took inspiration from a similar web page to create it.
<!DOCTYPE HTML>
<html>
 <body>
 <div id="content">
  <form method = "post">
   <label for = "input">Message</label>
   <input type = "text" id = "input"  name = "message">
   <input type = "submit" id = "button" value = "Send">
  </form>
  </div>
  <style>
   html{
      height:auto;
      background-color: #dee2de;
   }

   body{
      position: absolute;
      top: 50%;
      left: 50%;
      transform: translate(-50%,-100%);
   }

   #content{
      background-color: white;
      border-radius: 6px;
      padding: 10px;
      font-family: arial, sans-serf;
      border: 1px solid black;
   }

   #button{
      background-color: #3dafb9;
      border: 1px solid transparent;
      border-radius: 2px;
   }

  </style>
 </body>
</html>
If you are interest in a full Arduino sketch or how the original HTML code works, you should check out Creating a ESP32 Web Server with Text Input.