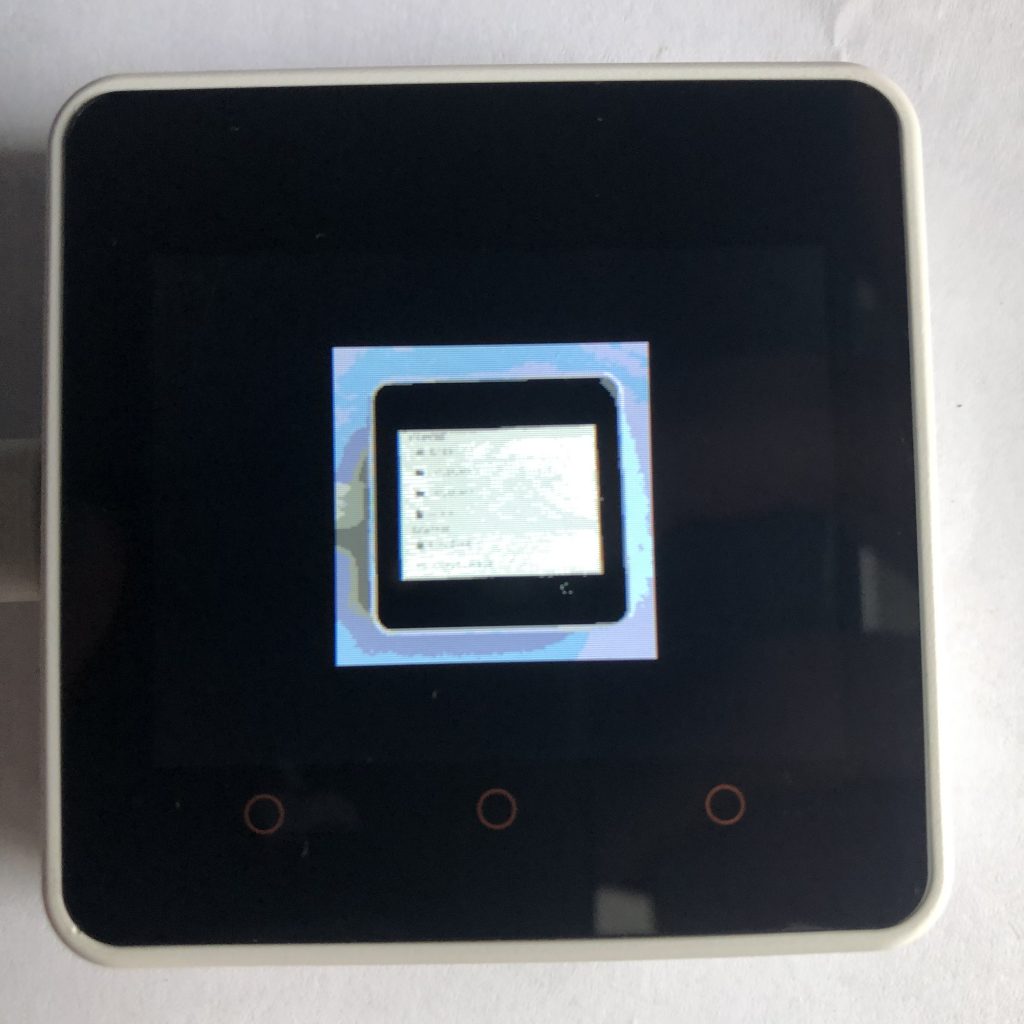
Images are extremely important when building a GUI, but LVGL does not have a very simple way to add images to your project. I have been searching for awhile for a good way to add them to my projects, and today, I am going to show you the best way I have found so far.
The Code below will load a PNG image from your file system, setup all the necessary settings for that image, and display it in the center of your screen. The image I tested with is at the bottom of this page. It’s 150*150 pixels wide and about 18 kb in size.
To get this example to work you will need to add your screen code to the beginning of the example. If you want more information try How to get a LVGL Micropython screen to work.
Here is the Code:
import lvgl,imagetools

driver = lvgl.img.decoder_create()
driver.open_cb = imagetools.open_png
driver.info_cb = imagetools.get_png_info

file = open('sd/lvgl_test.png','rb')
raw_image = file.read()
file.close()

image_description = lvgl.img_dsc_t()
image_description.data = raw_image
image_description.data_size = len(raw_image)

image = lvgl.img(lvgl.scr_act())
image.set_src(image_description)
image.center()

lvgl.scr_act().set_style_bg_color(lvgl.color_hex(0x000000),0)
Things To Know Before Running
The Image
For this code to work you will need to put an image somewhere in your file system. I attached an SD card to my board and put the image on that.
If you don’t want to use an SD card in your project, you will need to upload the image to your board’s file system. I know the AMPY tool can do that, but there might be others that you could use as well.
Memory
Images take a lot of memory. Besides the flash or SD memory used to store the image, you will also need a decent amount of ram. LVGL seems to load the entire image into ram before using it.
For the image I used, it seemed to take about 32kb of ram. If you run into problems about not having enough memory, you might need to get a smaller image. To get my images to work, I scaled them down with GIMP.
Understanding This LVGL Code
Since you have seen the code, let’s step through each section, so you can understand exactly what each part does. This will make it much easier to actually add images to your future projects…
The Setup
First we will need to import the lvgl library and the imagetools library.
import lvgl,imagetoolsThe Decoder
To be able to display a PNG image, we need a PNG decoder. To start, we have to create a plain image decoder.
driver = lvgl.img.decoder_create()Then we will use parts of the imagetools library to modify that decoder to work with PNGs.
driver.open_cb = imagetools.open_png
driver.info_cb = imagetools.get_png_info
Loading the Image
Now we need to load your image from your file system. Replace the “sd/lvgl_test.png” with the path to your image.
file = open('sd/lvgl_test.png','rb')Next, it loads the image to the raw_image variable.
raw_image = file.read()Then it closes the now unused file.
file.close()The Image Descriptor
To begin we create a blank LVGL descriptor.
image_description = lvgl.img_dsc_t()Then we set the descriptors source to the image we loaded earlier.
image_description.data = raw_imageLastly we set the descriptors size to the size of the image.
image_description.data_size = len(raw_image)Displaying The Image
Up to this point we have just been setting up the image. Now we will tell it were we want it to be put on the screen.
First we create a new img object.
image = lvgl.img(lvgl.scr_act())Then we set the picture it’s going to display to the image descriptor we made before.
image.set_src(image_description)The image will look nicer if its centered on the screen.
image.center()Last Touches
Because the image does not fill the whole screen, we will want the background to be black, so we add this line of code.
lvgl.scr_act().set_style_bg_color(lvgl.color_hex(0x000000),0)What Next?
This method for loading images to micropython LVGL is simple, which is why I like it. Unfortunately, it leaves a little to be desired when it comes to efficiency. With the computers I am using, I am going to have to be careful about how many images I use.
The best part about using PNGs and LVGL is that they are straightforward. You don’t have to recompile your firmware, heavily edit the image on your computer, or create a custom image driver.
