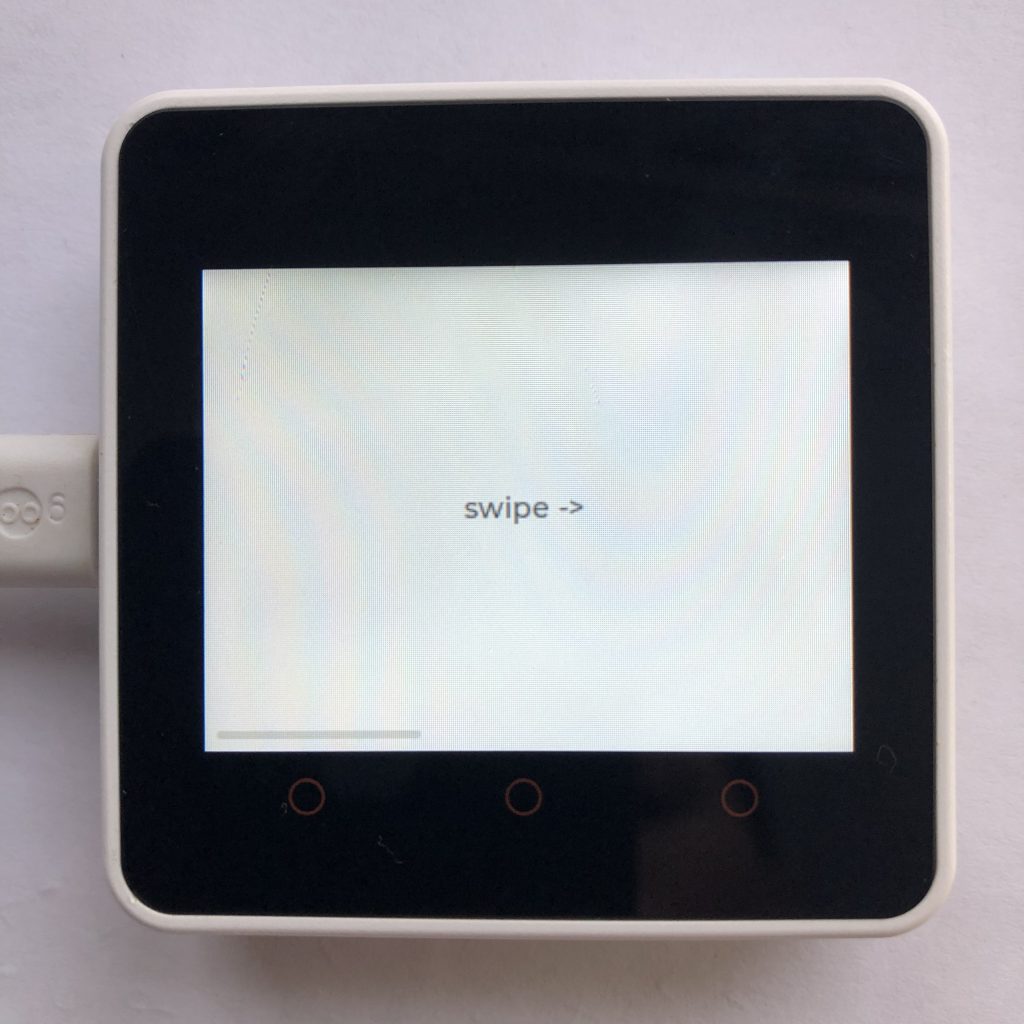
Today, I am going to show you how to create a program that will have multiple pages, and when you swipe the screen, it will change the visible page. Normally, it would take tons of code to pull this off, but with lvgl its a breeze.
To get this example to work you will need to add your screen code to the beginning of the example. If you want more information try How to get a LVGL Micropython screen to work.
Here is the code:
import lvgl

tv = lvgl.tileview( lvgl.scr_act() )

def lb( text, src ):
    label = lvgl.label( src )
    label.set_text( text )
    label.center()

view1 =  tv.add_tile( 0, 0, lvgl.DIR.HOR )
lb( 'swipe ->', view1 )

view2 = tv.add_tile( 1, 0, lvgl.DIR.HOR )
lb( 'keep going ->', view2 )

view3 = tv.add_tile( 2, 0, lvgl.DIR.HOR | lvgl.DIR.BOTTOM )
lb( 'swipe down if you like', view3 )

view4 = tv.add_tile( 2, 1, 0 )

btn = lvgl.btn( view4 )
btn.center()

lb( 'Back', btn )

def handler( data ):
    tv.set_tile_id( 0, 0, lvgl.ANIM.ON )

btn.add_event_cb( handler, lvgl.EVENT.CLICKED, None )
Understanding This LVGL Code
Ok, now that you have seen all the code, let’s step through each section, so you can understand exactly what each part does. This will make it much easier to actually use the code in your future projects…
Setting Up the LVGL Tileview
First thing we have to do is import the lvgl graphics library.
import lvglSecondly, we create the tileview. For simplicity, we will abbreviate it as tv.
tv = lvgl.tileview( lvgl.scr_act() )The Label Function
We are going to make a function to build the content of the pages that we will create later. Lets give it the name ‘lb’.
def lb( text, src ):Then we want it to create a label on the current page (aka. src).
label = lvgl.label( src )After that the label should be given some text to display.
label.set_text( text )The label will look nicer if it’s in the center of the page.
label.center()Creating the First Page
We will start by creating a empty tile (what I call a page). The first two numbers are the column and row of the tile, and the lvgl.DIR.XYZ is the direction you are allowed to swipe in.
view1 = tv.add_tile( 0, 0, lvgl.DIR.HOR )Because we created the ‘lb’ function earlier, all we have to do now is call it.
lb( 'swipe ->', view1 )The Second Page
Setting this page up is practically identical to setting up the first one.
view2 = tv.add_tile( 1, 0, lvgl.DIR.HOR )
lb( 'keep going ->', view2 )
The Third Page
Except for the fact that this page allows you to swipe down as well as horizontally, it’s the same as the last two pages.
view3 = tv.add_tile( 2, 0, lvgl.DIR.HOR | lvgl.DIR.BOTTOM )
lb( 'swipe down if you like', view3 )
The Last Page
This page is a little more interesting. As usual we will start out by creating a new tile.
view4 = tv.add_tile( 2, 1, 0 )For the last page we will want a button instead of a label. Like the label, we will also want to center it.
btn = lvgl.btn( view4 )
btn.center()
We want the button to have text, so that old ‘lb’ function can be reused to give the button a label.
lb( 'Back', btn )When the button is pressed we want it to take us back to the first page. First thing we need to do is code a function to take us back.
def handler( data ):
    tv.set_tile_id( 0, 0, lvgl.ANIM.ON )
Then we connect that function to the button so that when its clicked the function is called.
btn.add_event_cb( handler, lvgl.EVENT.CLICKED, None )What happens next?
Now that you know how tileviews work and how to create their pages, try running the code above, you will see how when you swipe, it smoothly transitions to the next page, and when you press the button on the last page, it takes you back to the first page.
Experimenting with code is a great way to learn, maybe you could add more pages or rearrange the ones that already exist.